Installing
From SOPWiki
Contents |
With Installer
Download Installer
Download SourceOP Installer from the SourceOP Downloads Page.
Using the Installer
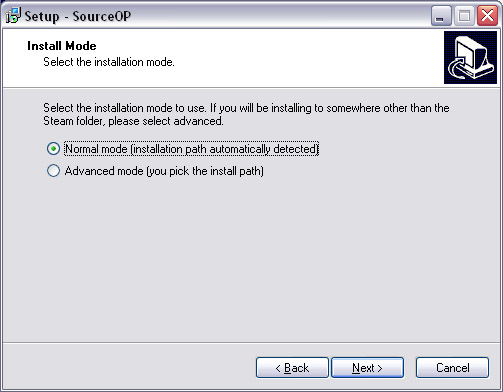
There are two modes of installation: normal mode and advanced mode.
Normal Mode
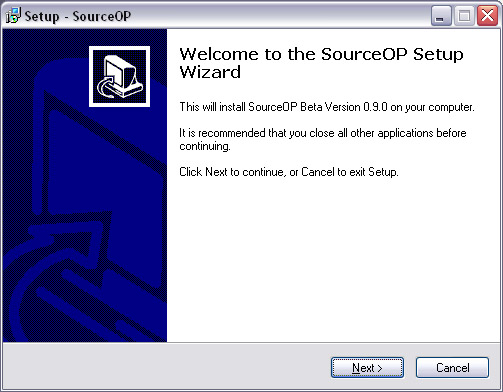
Run the exe.
Click Next on the first page.
If you are installing to Steam, click Normal mode. If you are installing somewhere else, such a seperate dedicated server installation, pick the Advanced mode choice. Click next after you make your choice.
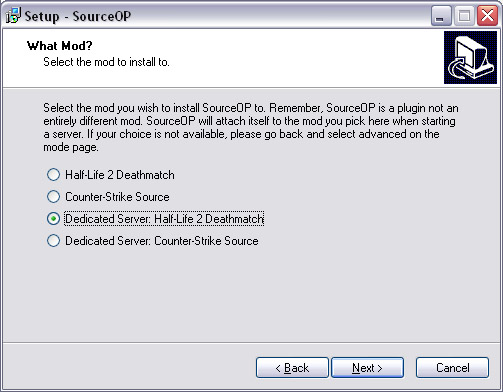
Select what game you want to install SourceOP to. The top two boxes will work for listen servers. The bottom two boxes will install SourceOP to the Source Dedicated Server tool that is available from Tools tab in Steam. Click next when you pick the game.
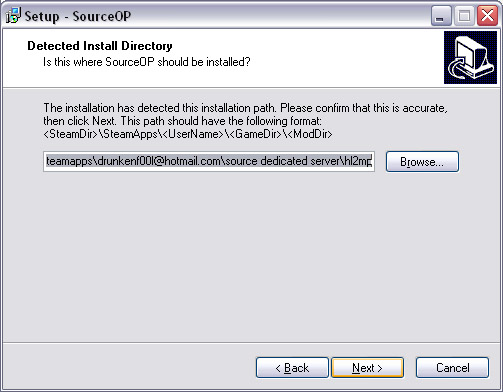
Verify that this path is correct. Check to make sure the username is the correct one.
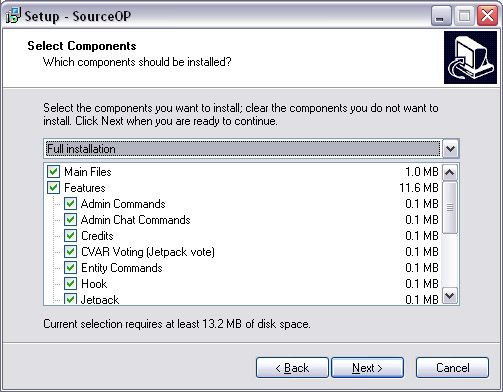
Pick the components that you want to install. Leave "Main Files" checked. You may uncheck "Main Files" if you are trying to add or remove features to an existing SourceOP installation.
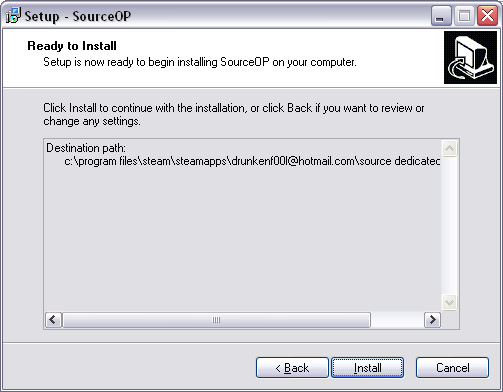
Again, make sure that the path is correct and then click "Install".
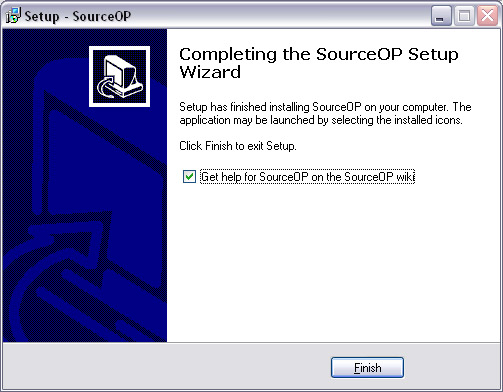
After SourceOP copies files, you will be presented with this screen. Click Finish to close the installation.
After you click finish, you will see a message box. It is telling you to run the admin tutorial after starting your server. You can run the tutorial by typing "admintut" in console. The tutorial will allow you to set yourself up with admin.
Advanced Mode
Run the exe. Select advanced mode. Install SourceOP into the gamedir of the mod you wish to install. For example, to install SourceOP for Counter-Strike Source into a srcds installation that is located at C:\HL2Server you would select C:\HL2Server\cstrike as the install path. Select the features you wish to install. Click install.
Manual Installation
Windows
Download ZIP File
Download SourceOP Windows Manual Install from the SourceOP Downloads Page.
Extract the ZIP File
Extract the contents of the ZIP file into your Source Dedicated Server installation folder.
Move Contents of gamemod Folder
Move the contents of the newly created gamemod folder (this folder was created by extracting the ZIP file) into the mod folder you wish to install to. For example, to install SourceOP for Half-Life 2 Deathmatch, move the contents of gamemod folder into the hl2mp folder. Select yes to overwrite directories if asked.
Run the Tutorial
Now, you are ready to start the server. If everything was done correctly, SourceOP will load. You can then join the game and run the admin tutorial by typing admintut in the console. The admin tutorial will help you set yourself up as admin.
Linux
Change Directory to srcds Installation
Example:
cd ~/srcds
Download the Linux Tarball
Download SourceOP Linux Manual Install from the SourceOP Downloads Page or use the following command:wget http://www.sourceop.com/downloads/SourceOP/SourceOP_090beta_lin.tar.gz
Extract the Tarball
gunzip -c packed_files.tar.gz | tar -xf -
Move Contents of gamedir Directory
When extracted, the required files for sourceop will be in the ./gamedir directory. You must move them into the directory of the game you wish to install. To do this, type the following in a terminal:
For Half-Life 2 Deathmatch:
mv ./gamemod/* ./hl2mp/
For Counter-Strike: Source:
mv ./gamemod/* ./cstrike/
For Day of Defeat: Source:
mv ./gamemod/* ./dod/
For Fortress Forever:
mv ./gamemod/* ./FortressForever/
Run the Tutorial
Now, you are ready to start the server. If everything was done correctly, SourceOP will load. You can then join the game and run the admin tutorial by typing admintut in the console. The admin tutorial will help you set yourself up as admin.
